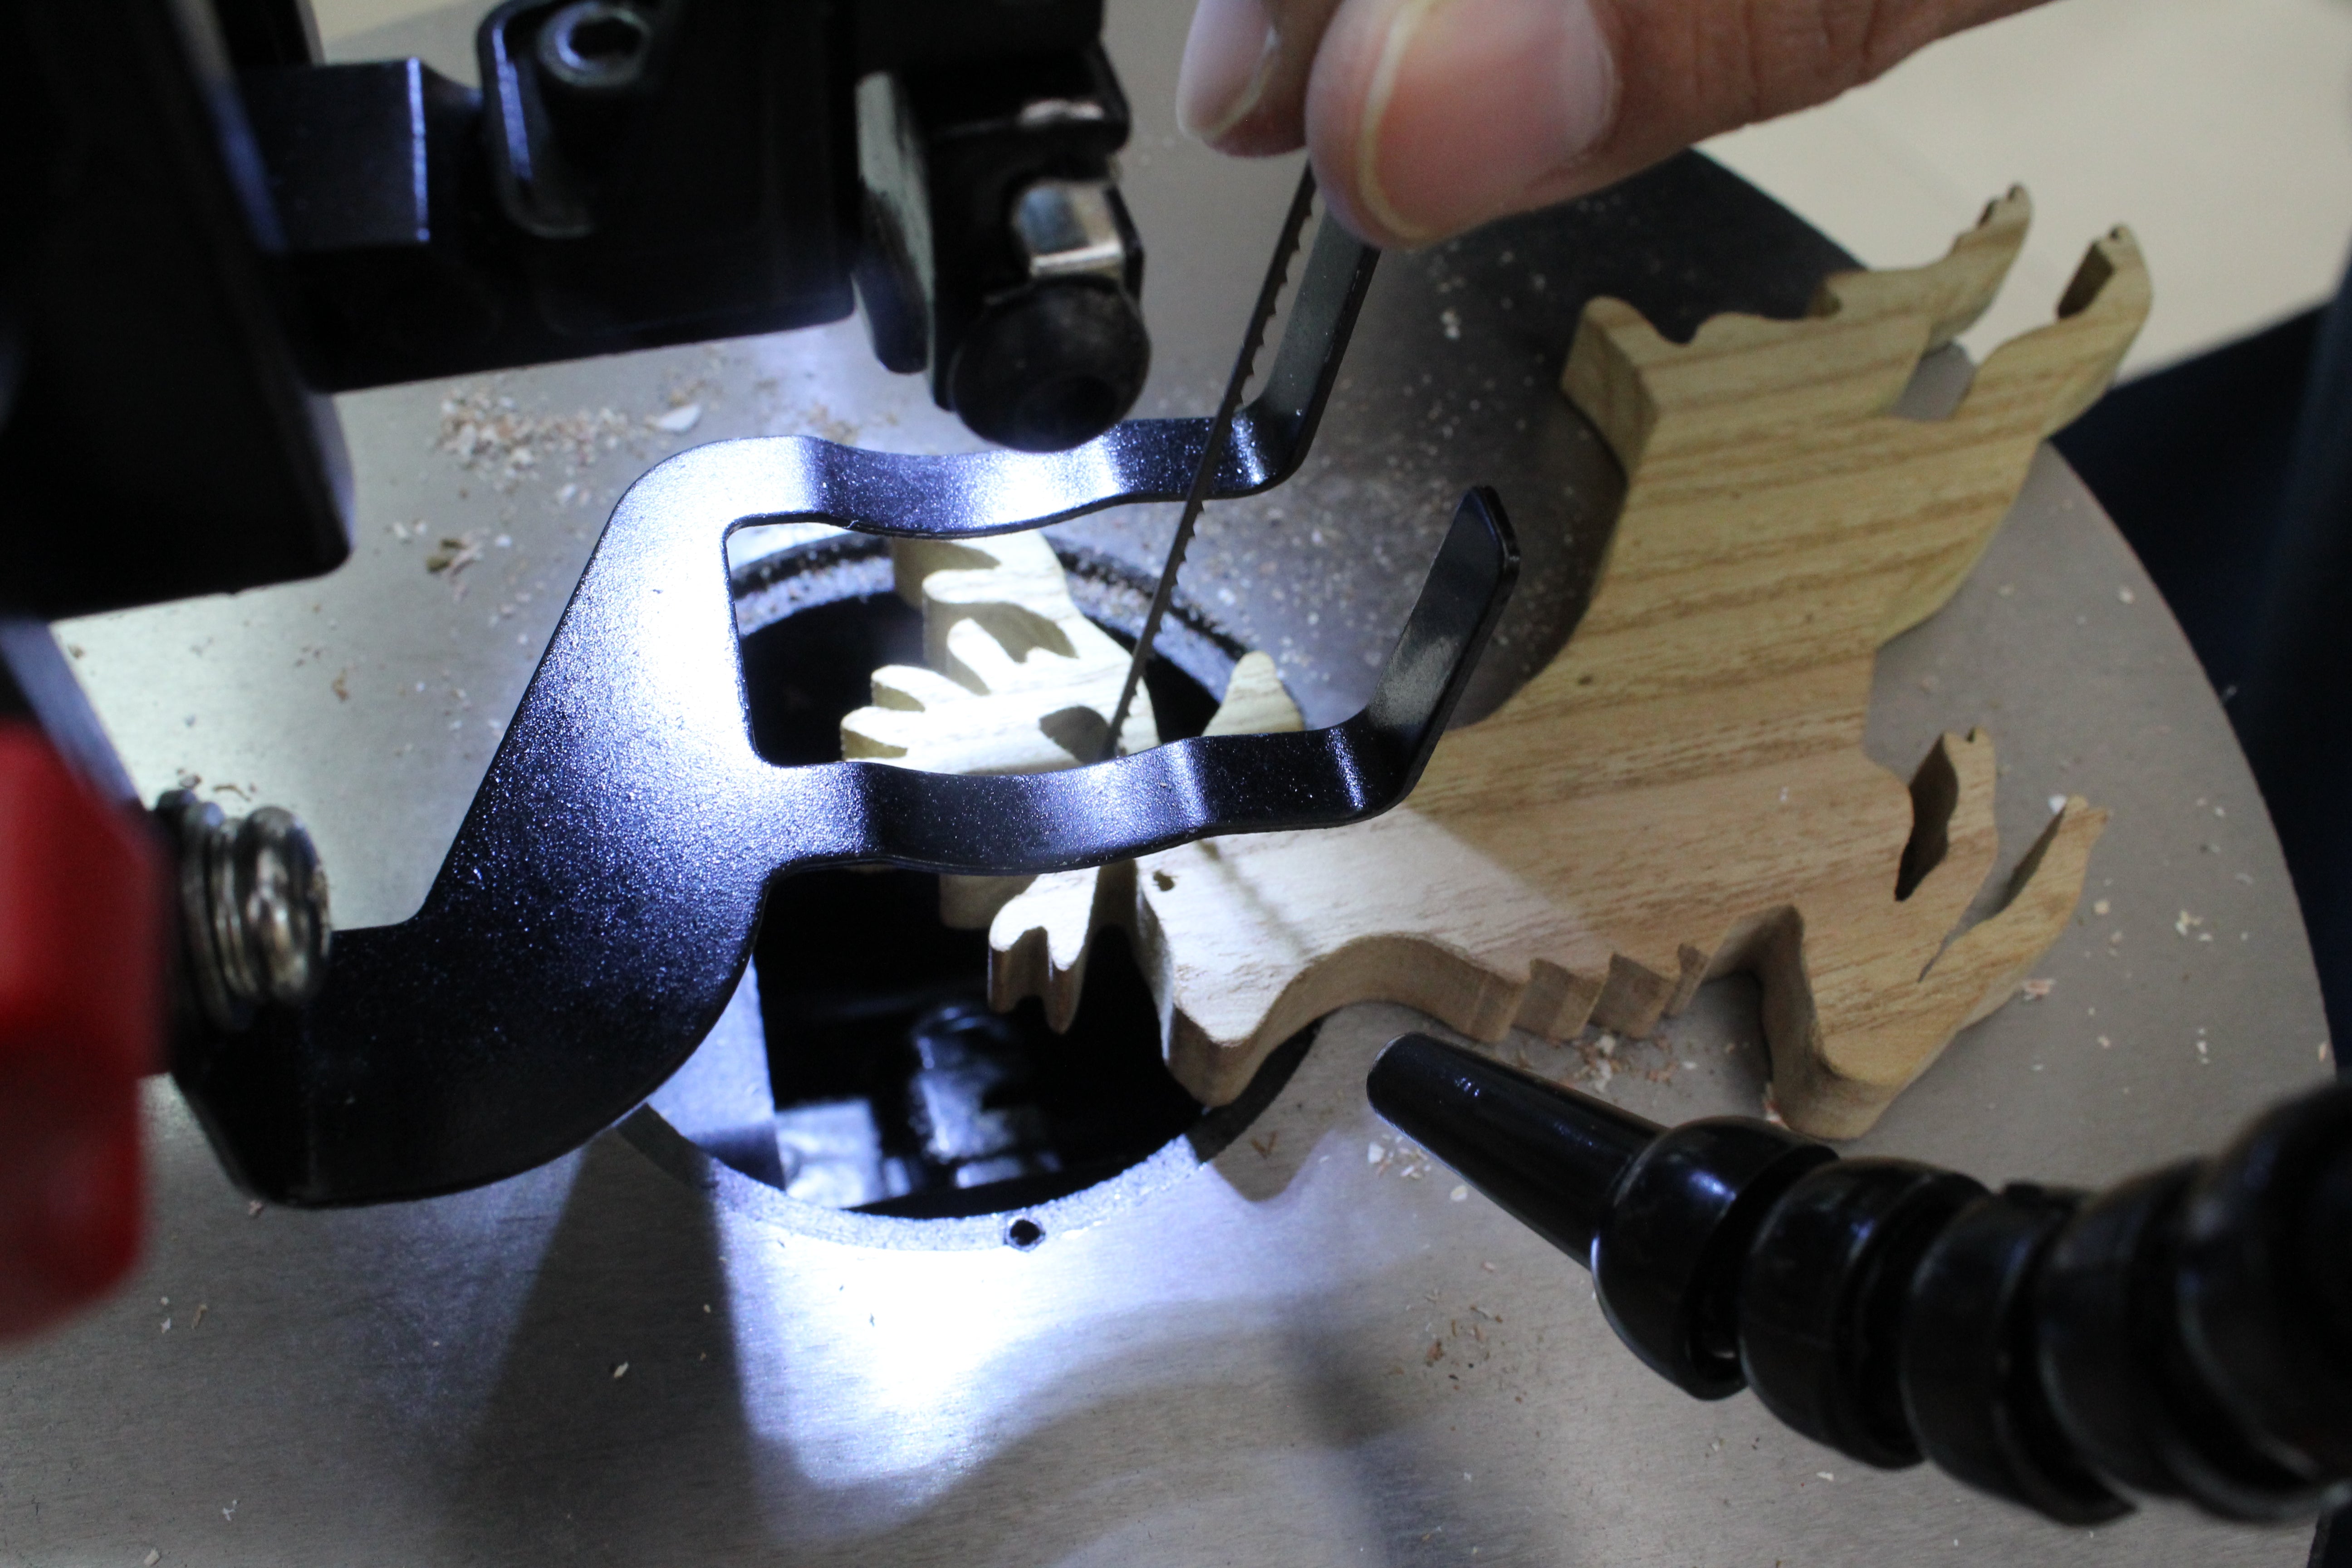
1. Draw your design or pattern onto the wood.
Use a pencil to draw the outline of your design. Make sure that your pencil markings are easily visible on the wood.
2. Wear safety goggles and other safety equipment.
Place your safety goggles over your eyes before you turn on the machine, and wear them for the whole duration that it is on. These will protect your eyes from any broken blades and from sawdust irritation. Tie back your hair if it is long before you use the scroll saw.You can also wear a dust mask if you prefer. Make sure that you aren’t wearing baggy sleeves or long jewelry that could get caught in the blade.
3. Check that the scroll saw is secured correctly on your work surface.
Refer to the manufacturer’s instructions for your scroll saw to learn how to bolt, screw, or clamp the machine onto the surface.
4. Select proper blades.
Thin wood requires a smaller blade. Smaller blades tend to cut through the wood more slowly. This also means that you have more control when you are using the scroll saw. Intricate designs are more accurately cut with smaller blades. As the thickness of the wood increases, use a larger blade. The higher the number of the blade, the denser and thicker the wood it can cut through.
5. Set the tension on the blade.
Once you have fitted the correct blade, adjust the tension according to the manufacturer’s instructions. You can also check the tension of the blade by plucking it like a guitar string. A blade that has the right tension will make a sharp ping noise. Generally, the larger the blade the higher the tension it can withstand.
6. Turn the saw and the light on.
Plug the saw into an electrical socket, and turn the power switch of the machine on. Make sure to also turn machine light on so that you can see what you’re doing while you use the scroll saw. If your machine has a dust blower, switch this on too. This will remove the dust from your work as you use the scroll saw so that you can see your design clearly.
How to Set up a scroll saw for the beginner

Tags: Scroll saw
