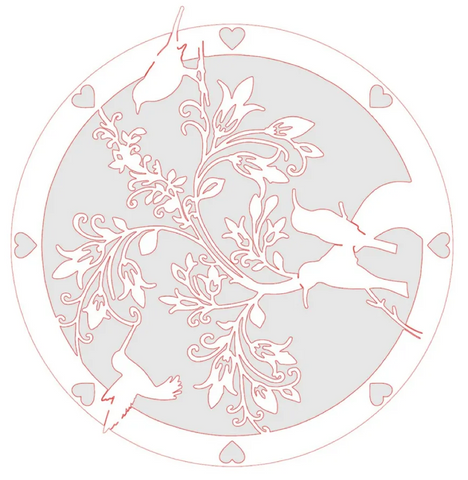
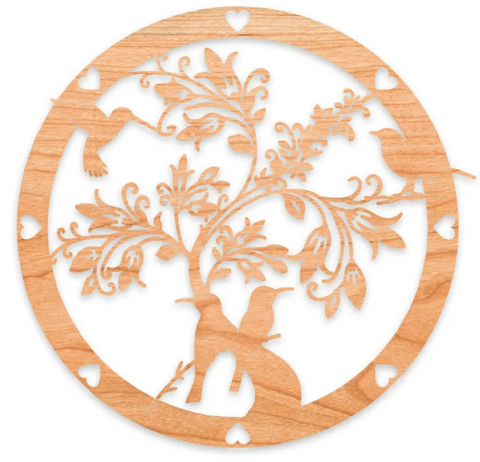
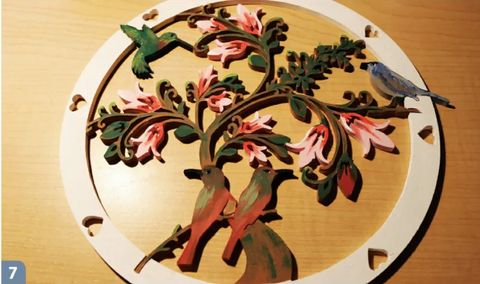
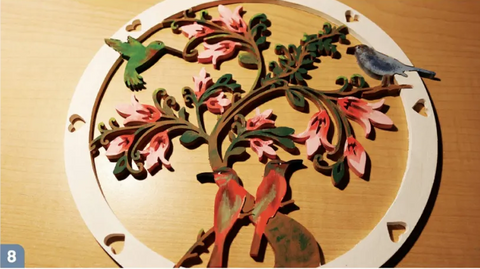
Are you interested to know how to use Scroll Saw?(15)

Part Fifteen

 Summer Love Plaque

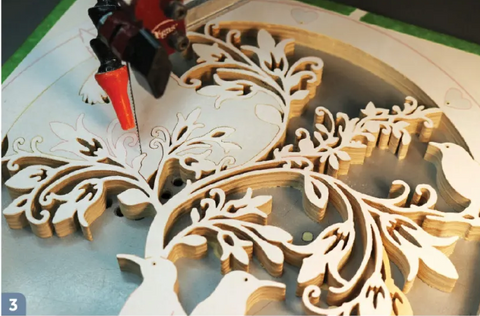
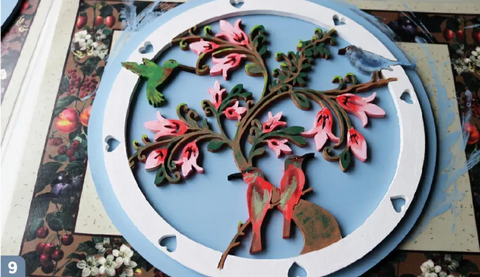
The positivity of summer is really apparent in this welcoming design. Follow along to learn how to add a background and paint your design.

Print at actual size for 8”(20.3cm) dia., at 125% for 10"(25.4cm) dia., or at 150% for 12”(30.5cm) dia.

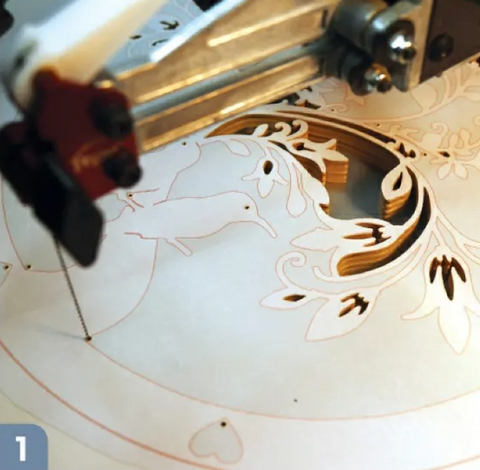
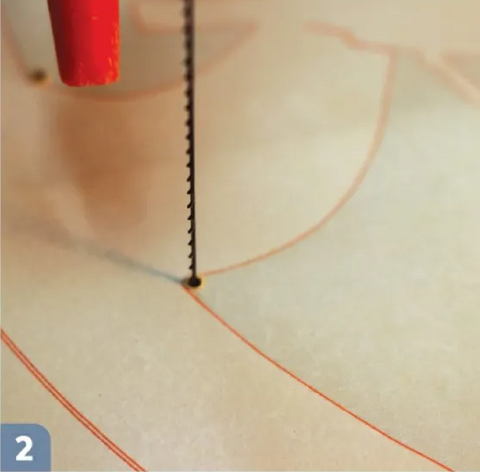
Recommended wood: Baltic birch,1/4"-1/2"(6-13mm) thick, or any wood of choice, 1/2”-3/4"(13-19mm) thick, 8 3/4"(22.2cm),10 3/4"(27.3cm), or 12 3/4"(32.4cm ) square. To make the featured background , use a second piece of wood sized up at least l" (2.5cm)larger than your design blank.

Recommended drill bits: 1/16” ( 1.6 mm)

Recommended blades: #3-#5 reverse tooth for Baltic birch; #3.-#5 reverse tooth or skip-tooth for other types of wood

Notes/special instructions: Be careful when cutting the fragile flower stems.

Recommended finishing: For hardwood, Danish oil or oil of choice; for Baltic birch plywood, acrylic paints of choice and clear protective brush-on or spray-coat finish.

Start by drilling all the pilot holes. Also drill the birds' eyes using the same 1/16"(1.6mm) drill bit. First cut the center section above the two birds, then cut all the flower centers within the branches.

Next, start cutting the sections that butt up against the outside border.

Cut out each section completely before moving onto the next.

Cut the outer rim hearts and the outline around the extending bird tail and wing tip.

Use a compass to make a large circular pattern in your desired size for the background piece. Apply it to a fresh wood blank like you would a normal pattern, using contact paper, and cut it out. I made mine about 1/2"(1.3cm) wider than the main design.

Thoroughly sand the front and back sides of each piece. Check that you are happy with your mockup before proceeding to the painting steps. l made two for a set of shutters.

Paint the first layer of colors. l used basic acrylic craft paint. Allow the first layer of colors to dry and then add finishing touches or additional layers. You can also add more layers while the first layer is still wet and blend.

For example, l painted the two center birds completely red, then mixed acrylic colors to get the effect that l wanted for the wings, beak, and head area. I did the same for the plant, flowers, and other birds—l started with solid colors and then added layers of other colors to get the desired effect.

Paint the background piece in your desired color; I went with a sky blue here. Attach the scrolled piece to the background using a polyurethane-based glue. if you're going to use the piece outside like l did, spray coat the entire piece with an exterior-grade clear coat to protect it from the elements.

Leave a comment

Featured products

Save $20.00
Bench Grinder | 8 in. Low Speed Bench Grinder with LED | TDS-200C4HLBench Grinder | 8 in. Low Speed Bench Grinder with LED | TDS-200C4HL
Sale price$179.00 Regular price$199.00
BUCKTOOL 8Inch Low-Speed Bench Grinder TDS-200C4HL bucktool
Save $40.00
BG2600-grinder sander comboBG2600 2" x 42" Belt Sander & 6" Bench Grinder Combo
Sale price$189.99 Regular price$229.99
BG2600 2" x 42" Belt Sander & 6" Bench Grinder Combo BUCKTOOL