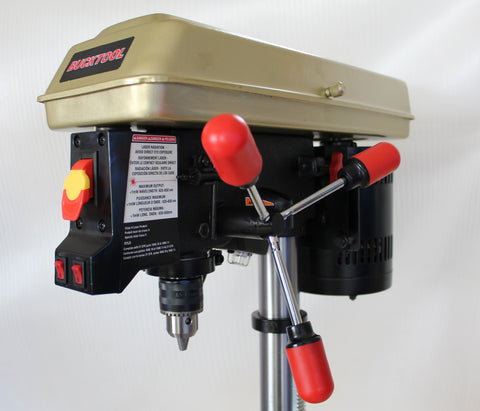
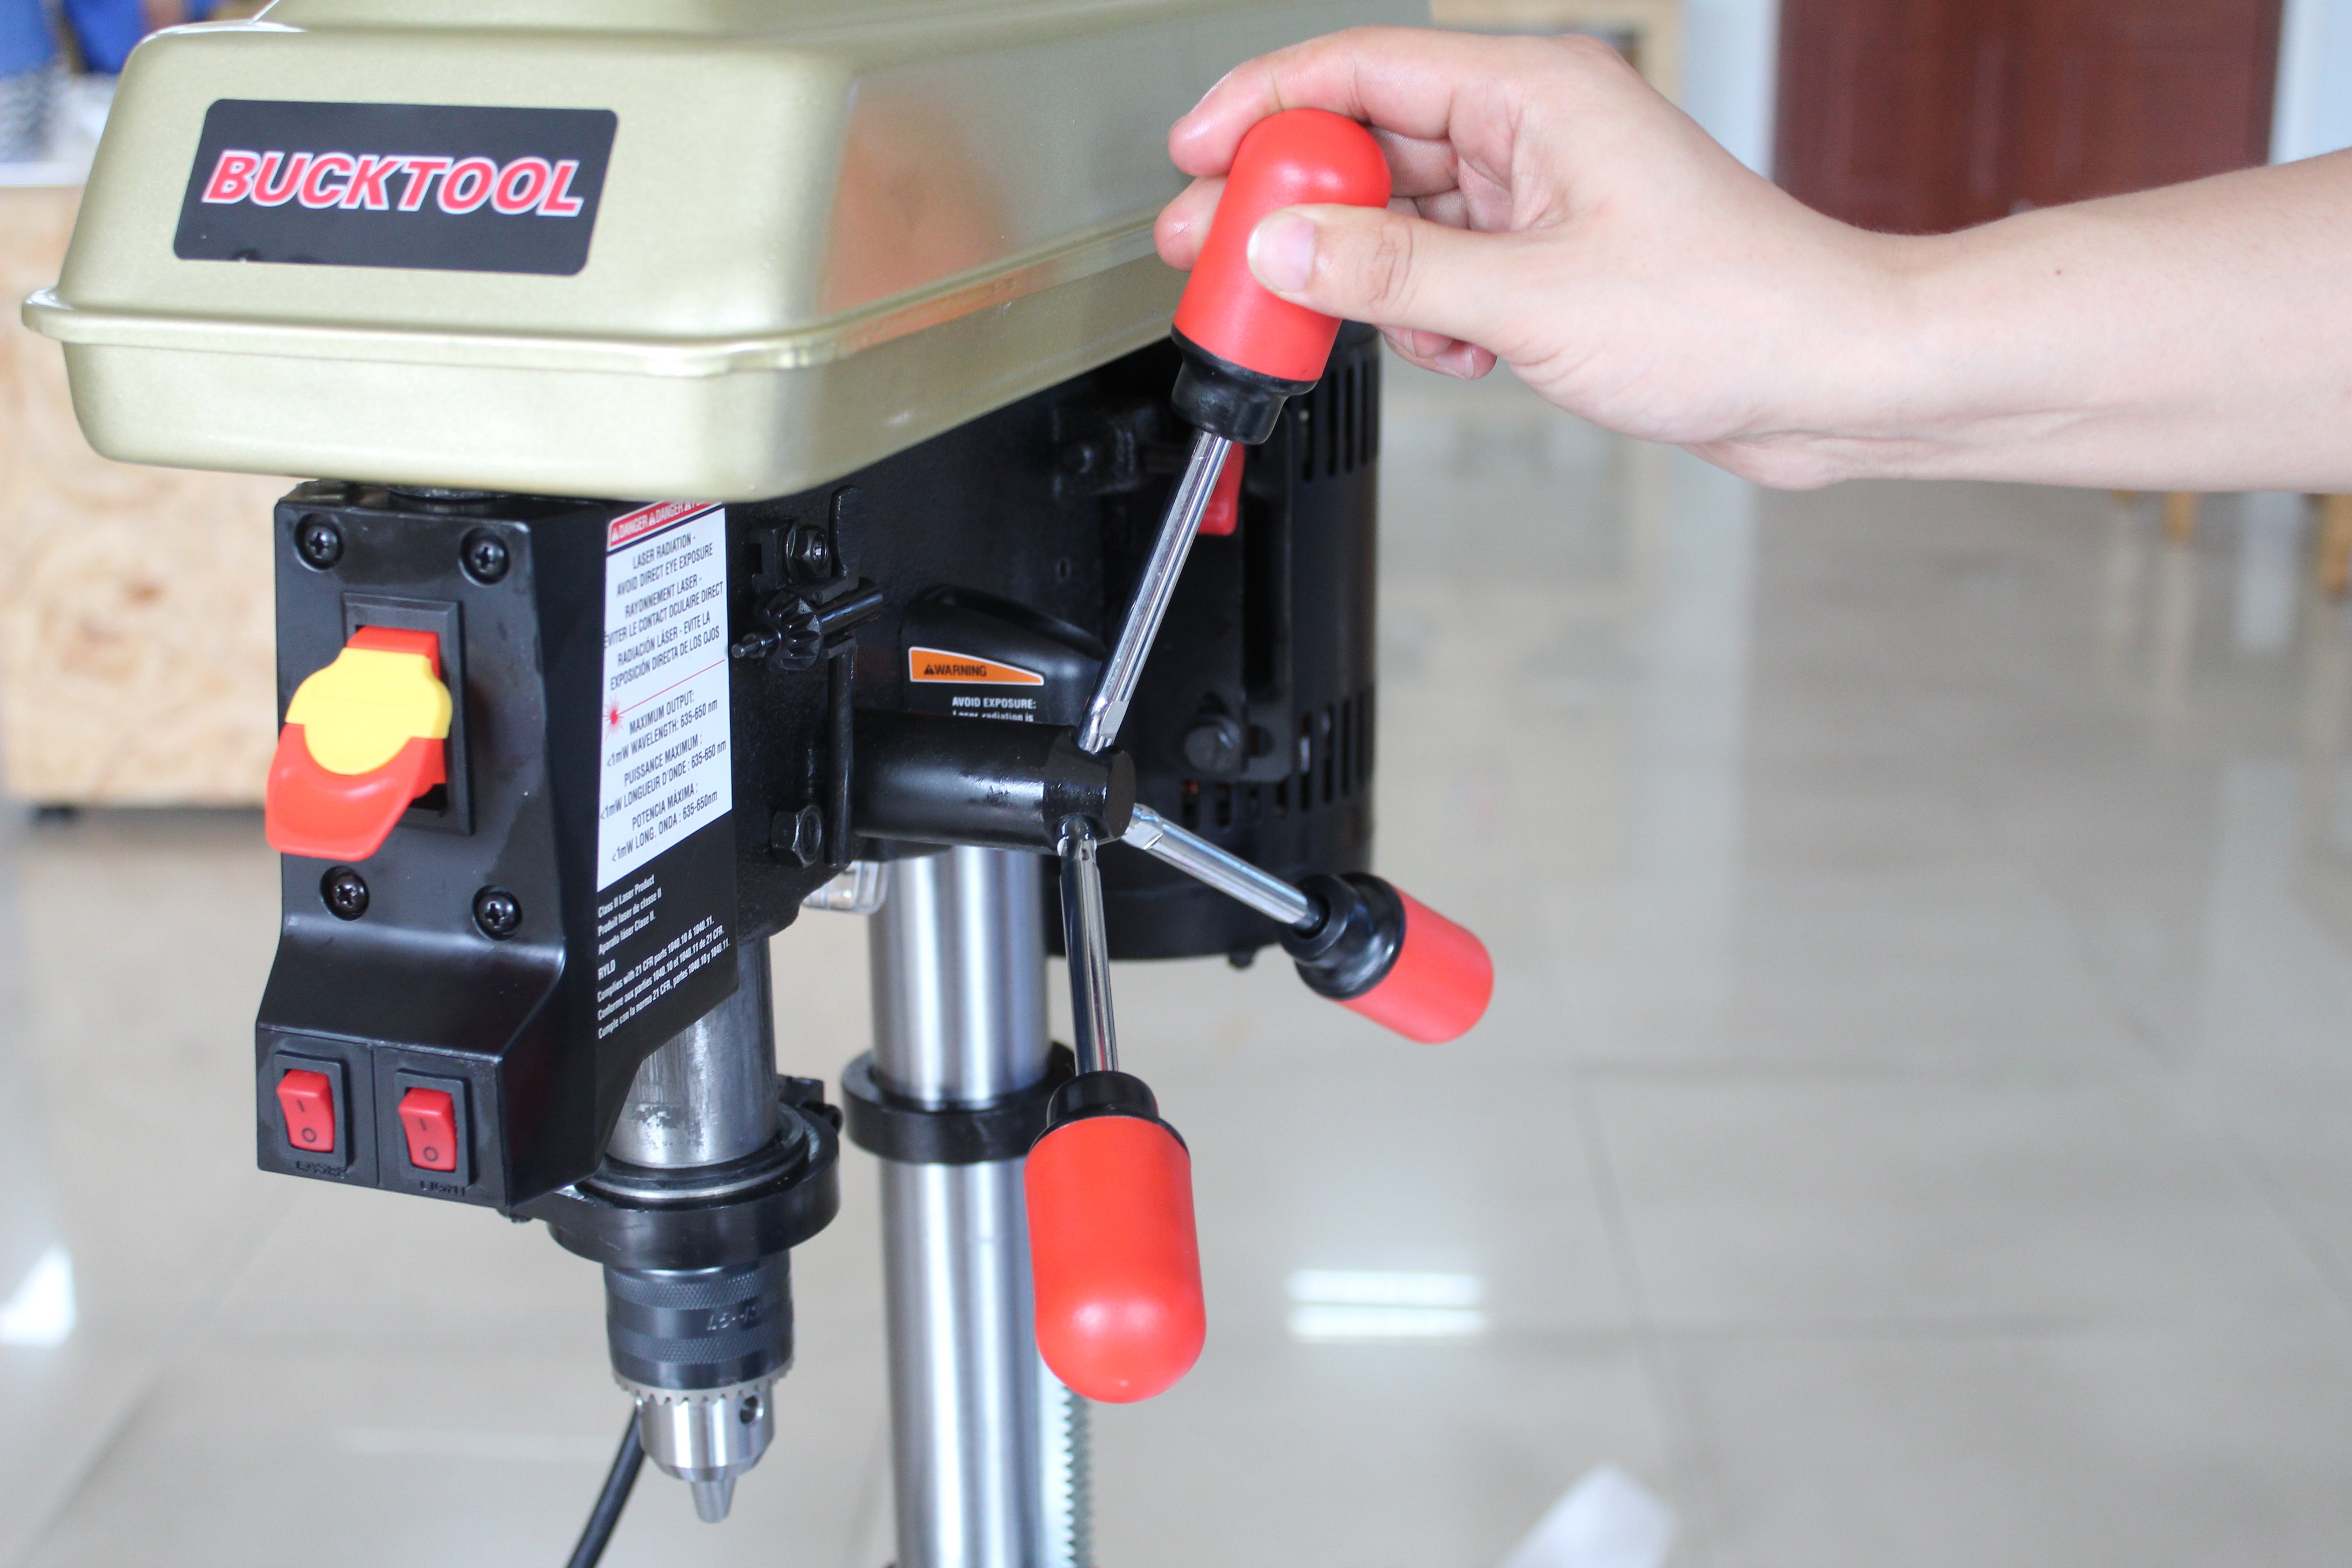
All drill presses have the same basic parts. They consist of a head and motor mounted on a column. The column has a table that can be adjusted up and down. Most of them can be tilted as well for angled holes.
 On the head, you will find the on/off switch, the arbor (spindle) with the drill chuck. This is raised and lowered by rotating a group of three handles on the side. Usually, there are about three inches of travel up and down that the drill chuck can move. In other words, you can drill a hole three inches deep without adjusting the height of the table.
The material is placed on the table and either held in place by hand or clamped in place. You then raise the table up to the bit which is chucked into the drill chuck. The speed of the turning bit is usually controlled by a series of step belts in the head. Some high-end drill presses use variable-speed motors.
When ready to drill, turn it on and slowly pull one of the handles forward and down to feed the bit into the material. The amount of pressure you use depends on the material you are drilling. Steel needs more pressure than wood for example. With a sharp bit, you should be getting shavings—not dust—coming out of the hole as you drill. When drilling metal, a sign that you’re using the correct amount of pressure is when shavings come out as one long spiral. Drilling metal is a process in itself.

