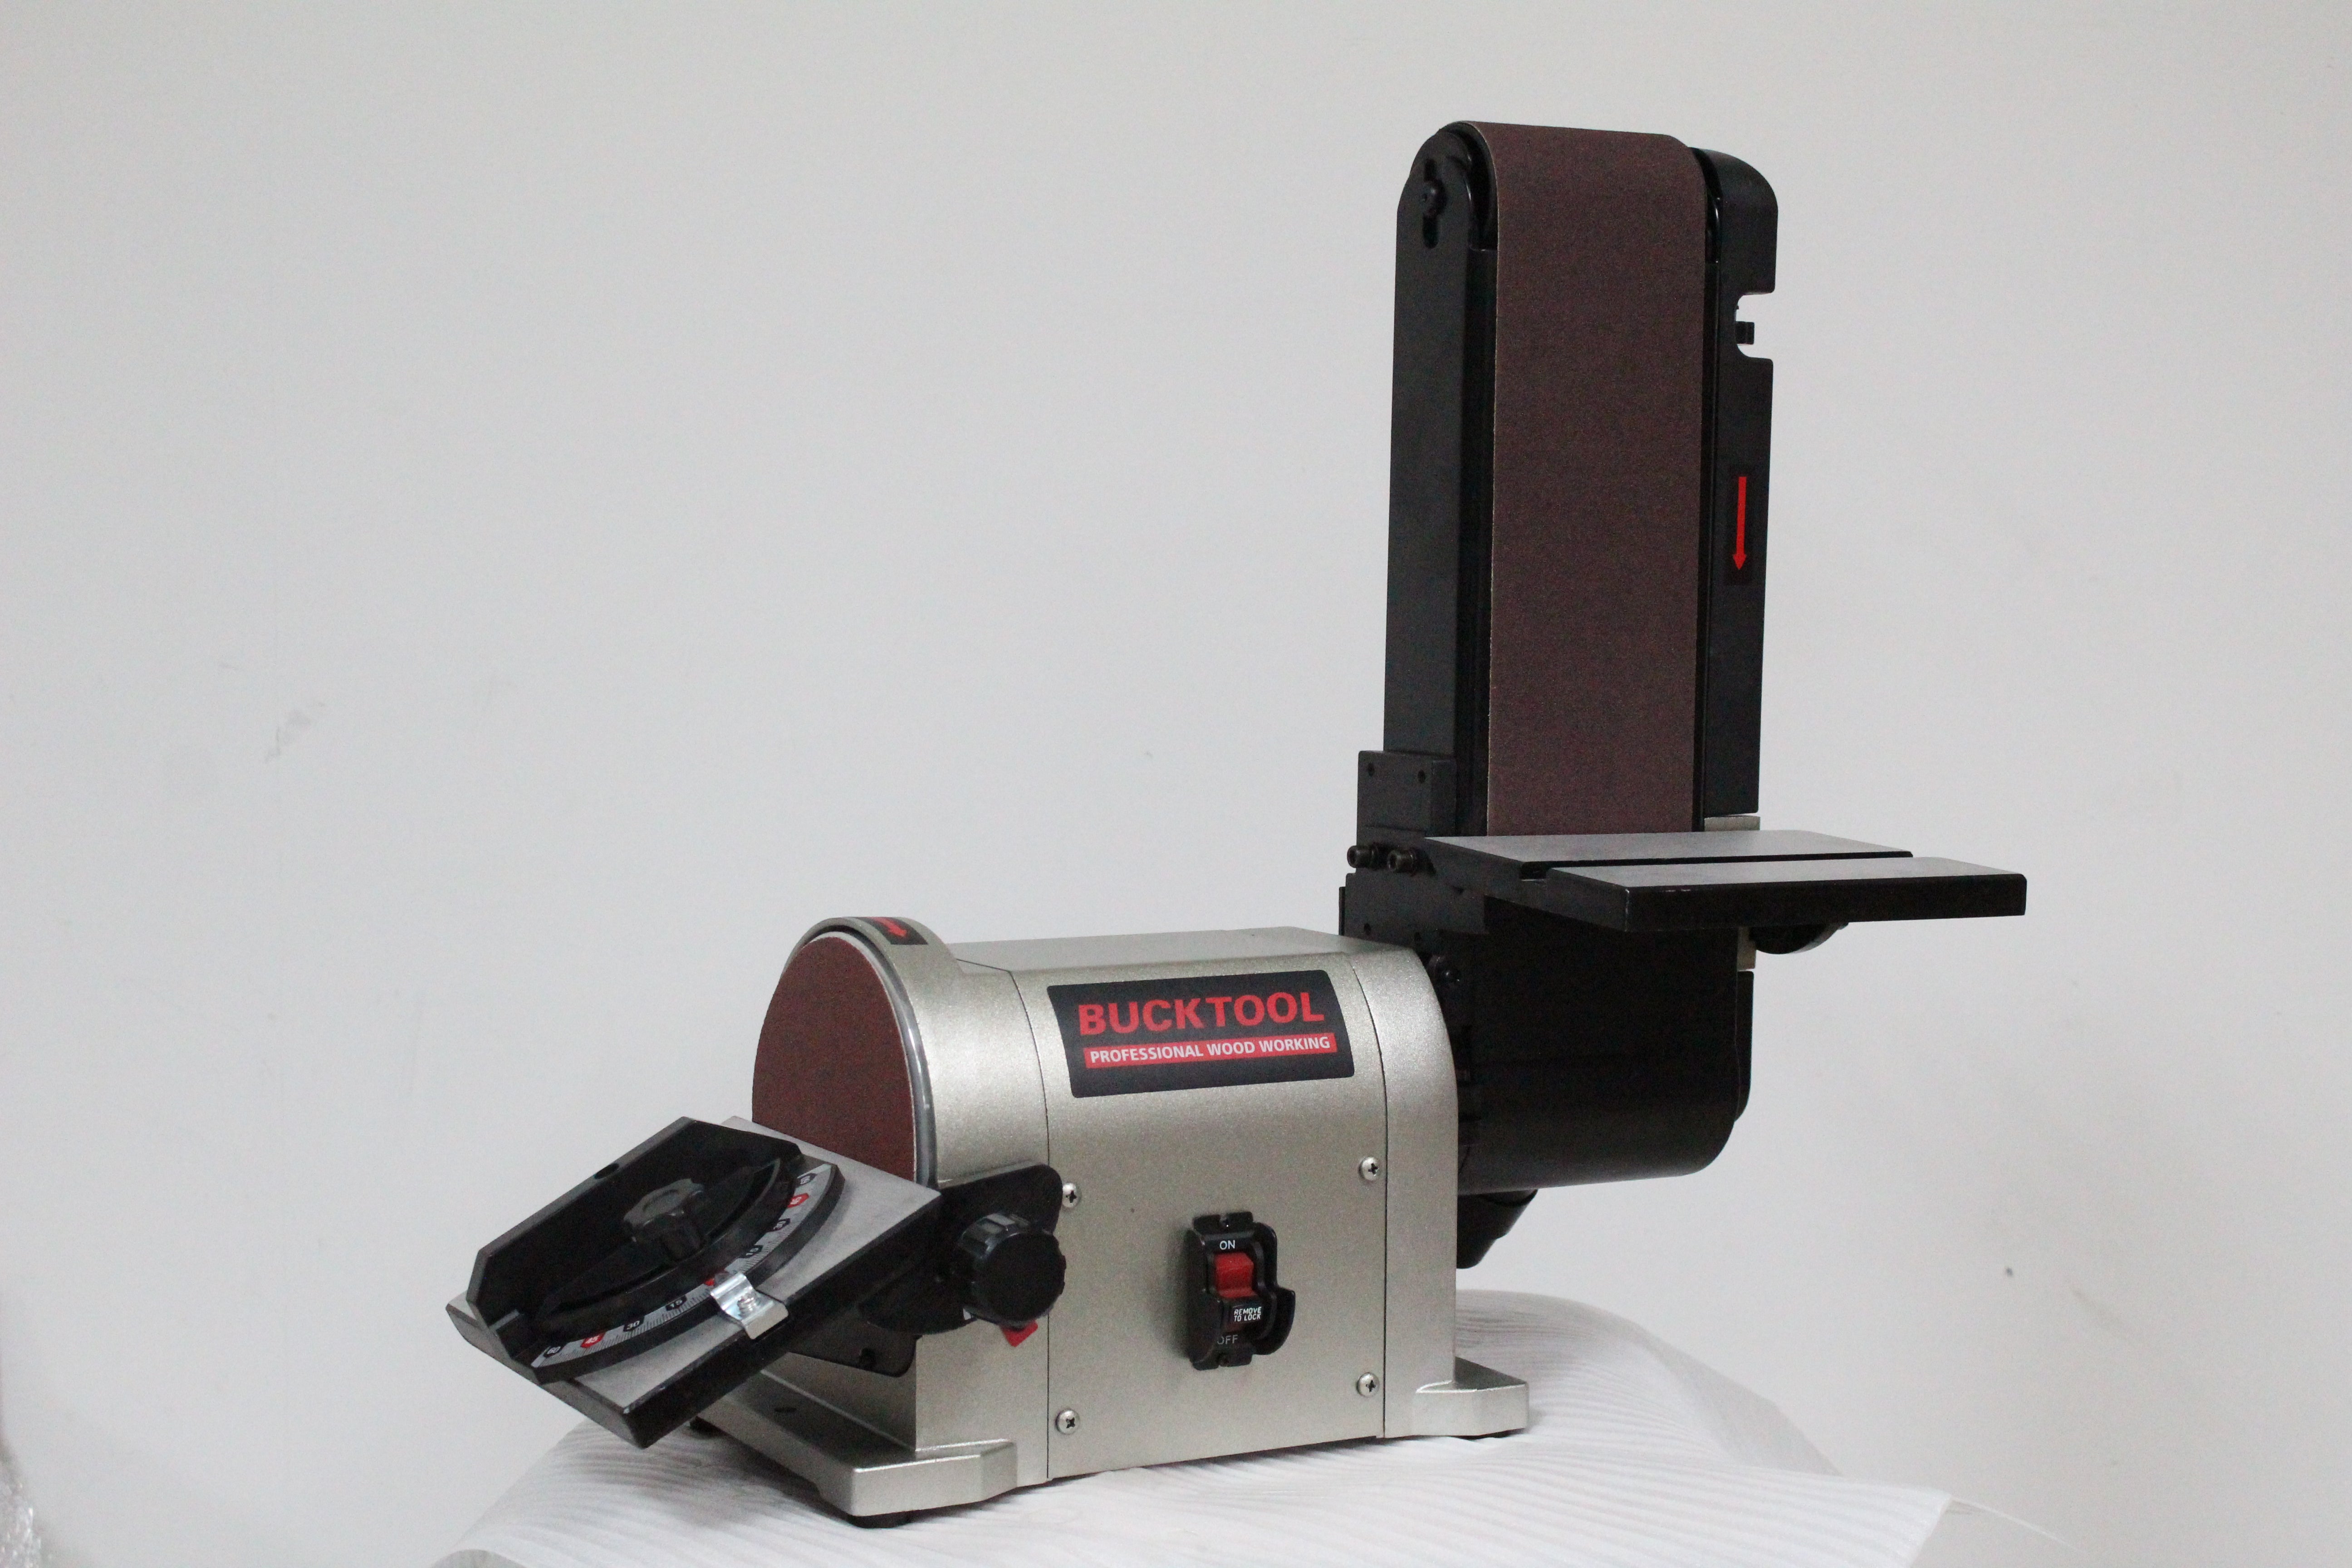
1. Adjust the disc table to achieve the desired angle on the stock being sanded. The table can be adjusted up to 45 degrees on most sanders.
2. Use the miter gauge to hold and move stock when a precise angle must be sanded on the material.
3. Apply firm, but not excessive pressure to stock being sanded on the belt/disc sander.
4. The belt sanding attachment can be adjusted from a horizontal to vertical position on most sanders. Adjust to best fit the sanding job being performed.
5. Adjust the belt tracking mechanism so the sanding belt does not touch the machine housing when rotating.
6. Keep the floor area around the sander clear of sawdust to reduce the possibility of slipping on a slick floor.
7. Always turn the belt/disc sander off when leaving the work area.
8. To change the sanding disc the old disc is pulled off the disc plate, a new coating of adhesive is applied to the plate and the new sanding disc is then attached to the plate.
9. To change the sanding belt, the belt tension is left off, the old belt is slipped off the pulleys and the new belt is installed. Be sure the arrows on the new belt point in the same direction as the arrows on the old belt pointed.
Belt/Disc Sander Operating Procedures

Tags: Belt disc sander
