Part Six
Basic Process
| Any project should follow the same essential basic process described here. There are three phases: preparing the blank with the pattern (Preparation), doing the actual pattern cutting(Cutting), and cleaning up the completed piece (Wrap-Up). For more photos, detail, and guidance about the process, see the step-by-step projects starting on here. |
Preparation
1. Cut your blank a minimum of 1/2" (1.3cm) larger than the pattern you are cutting. For example, for a circular trivet that is 8” (20.3cm) in diameter, cut the square blank to a minimum of 8 1/2"(21.6cm).
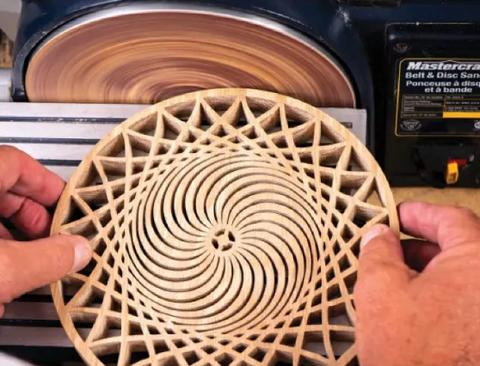
2. Thoroughly sand each side and edge of the blank with a palm or bench sander.
3. Remove all dust with compressed air and/or a tack cloth.
4. Cut a piece of removable contact paper. Remove the thin protective backing and attach the paper to the top of the blank. Make sure there are no air bubbles, repositioning as needed.
5. Apply spray adhesive to the back side of the paper pattern. Allow the glue to set for approximately one minute or until tacky , then attach the back side of the pattern to the contact paper. Remove all air bubbles by applying pressure with your thumb and pushing the bubbles outward to the exterior edge of the pattern paper.

Sanding with a belt and disc sander.
Cutting
6. Drill all pilot holes for the blade throughout the entire pattern. Also drill any specific feature holes (fret holes that only need to be drilled, not scrolled).
7. Position your blank in your saw, being sure you are following all safety measures and manufacturer 's instructions for your particular saw. In general, you will first loosen the top or bottom of the blade from the chuck head,. then thread it through the drilled blade-entry hole. Tighten the blade in both chuck heads and tension the blade (see more about blade tension on here).
8. Cut one entire fret at a time. Start cutting frets from the middle of the pattern, working your way outward. Follow any specific instructions and guidance given for your chosen pattern.
9. Cut the exterior outline last.
Wrap-Up
10. Once you have made all cuts, peel off the removable contact paper and pattern.
11. Sand the front and back surfaces again, including the perimeter edge.
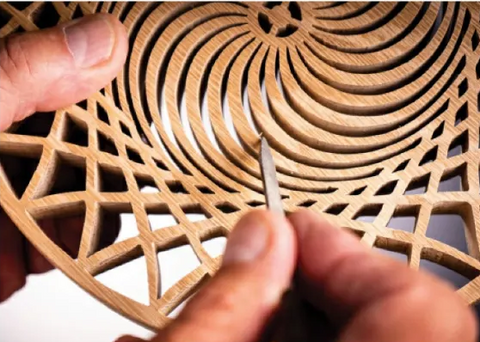
12. If necessary, use needle files to sand hard-toreach places.
13. Remove sanding dust with compressed air or a tack cloth.

Using a needle file to get into hard-to-reach places

